Wednesday, October 22, 2014

An amazing scarf series.


 Last year I made a few of these scarves.  A friend suggested I pursue a silk scarf backed in cashmere.  Being who I am, I had to find some kind of source for second-hand silk.  Enter Ebay and the fabulous search term, "recycled sari."  All of the silk in these scarves came from used saris.  Saris use about 5 yards of fabric because the fabric is wound around and around the body and then up and over one shoulder.  That's why you also see fantastic border prints or embroidery on most silk used for saris.  How do I know this?  I'm not Indian but once I was in an opera about Gandhi.  It was with Seattle Opera and I was in the chorus.  All the women got to wear these amazing saris as part of our costume.  Strange experience -- music by Philip Glass.  Need I say more?

But, I digress.  Saris have great border detailing and this panel is no exception.  It is a fawn/taupe color and the embroidery is brass with a little black.  Very detailed and intricate.  I did hesitate before cutting it up, but I have 3 amazing scarves and tons of silk still available so I'm sharing the wealth.

I washed the silk on gentle in the washer and hung it to dry.  Silk tears along the grain just like wool so cutting the panels into scarf-sized pieces was super easy.  The cashmere was cut 10 inches wide in as big of pieces as I could eke out of my bin of sweaters.  The finished scarf is about 9 1/2 by 65 inches.

On 2 of the scarves I used ivory cashmere for the backing.  I am a total sucker for all ivory and I really think using the neutral allows the embroidery to shine.  For the silk panel with the most blue (from the center of the fabric) I went with blue cashmere in a range from bright royal blue to pale blue to indigo and sky blue.  Stunning.  The effect is less subtle than the ivory versions but I think it will appeal to those who want a bigger splash of color near their face.

The scarves are listed in my Etsy shop for $75 plus shipping.  Last year I sold out of all the silk/cashmere scarves I made.  I have a feeling these ones are going to fly.


Tuesday, July 15, 2014

Wedding gift for Ellie

I've known Ellie since she was about 2.  Her dad worked with my husband and her mom, Kathy, and I became very, very good friends.   When I became pregnant with my oldest, Kathy already had Ellie and baby sister Meggie.  Kathy was my go-to for advice, wise counsel, and support.  Our husbands travelled all week long so we spent a lot of time together going to playgrounds, lunch dates, etc.

So, when I heard about Ellie getting married this summer right after her college graduation, I knew I wanted to make her gift rather than just choose something off her registry.  She had chosen some pillows from Pottery Barn, some of which were knit fabric.  I figured she might like wool pillows made out of old sweaters.  I sent Kathy some ideas and told her to run them by Ellie and get her thoughts.  Some of the ideas had no appeal (like proddy, anything with hearts or flowers, and "girly" colors).  But, she liked the patchwork idea and a design I sent with a leafy vine.  This may shock you (or not), but other than a zipper for the smaller pillow and some buttons for the larger, I didn't have to buy a single thing to make these pillows.  All the wool and sweater scraps came from my stash.


For the patchwork pillow, I chose a rectangle size to maximize the scraps I had.  I still had some 3" squares left from my purse days and I had a LOT of blues and greys.  I lined up the rectangles with a brickwork offset pattern.  I used this on my ipad cover from last winter and the offset seams are definitely stronger than sewing together in a checkerboard pattern.  I also think the offset seams add some movement to the overall fabric.  It gives your eye more to look at.


The vine pillow was a piece of cake.  I had some vintage wool for the background and just randomly added leaves to a stitched fine until I felt there was enough.  Some leaves are completely stitched and others just have the center vein stitched so the edges stick up a little.  Gives a little texture.

One of the new couple's first purchases together was a couch.  I am hoping they are enjoying the start of their life together, comfy on their couch with fabulous pillows!


Wednesday, June 25, 2014

My favorite bag shape

This is my favorite bag shape.  I bought a bag last summer at TJ Maxx.  You know I don't buy bags very often, preferring to make my own.  But, sometimes summer bags are hard given my preference for wool.  The bag was the perfect size with a nice, wide gusset to add space inside.  Perfect length handle allowing for shoulder use or just holding in the hand.  I had to duplicate. I drafted a pattern on poster board and I was off and running.


 The outside of this winter bag is alpaca taken from a beautiful coat I bought several years ago at a sidewalk sale.  $400 coat for $75.  I was thrilled and happily wore it for a couple of years.  Then I got a puppy who promptly chewed a hole in it.  The coat was reversible.  Dark charcoal and pale, dove grey.  Gorgeous.  I couldn't just give it to the Goodwill so I cut it up and made this fabulous bag.  The embellishment took FOREVER but what else does one do on a stormy and cold weekend in Ohio?!  I machine stitched the base of the tree and then hand embroidered the veining using hand-dyed embroidery floss that I found in my stash.  The cardinal is a bit of red wool plus some embroidery.  The handle is an old belt attached to some really great, heavy duty hardware from The Buckle Guy.  Lining is from Purl Soho.  Basically the outside of the bag was free stuff from my stash but I spent my whole budget on fabulous lining and hardware.  It's the details...

So here's the bag I just finished from the same pattern.  The fabric is crewel upholstery fabric I got on Ebay an embarrassing number of years ago.  Same drill on lining and hardware -- that's where I spent the money.  The lining is Liberty and was ridiculously overpriced but this bag is for me.  Actually, I made two of them.  One for me and one for a very good friend with a July birthday.  She wears a lot of blue.  Hopefully she doesn't follow my blog or I just ruined the surprise.  Handle is, again, an upcycled belt attached to fab hardware with rivets.  Surprisingly easy and great, professional looking results.  This actual bag is my friend's bag.  Mine has silver-toned hardware because I'm planning to switch out the black belt from my winter bag.  Super smart, right?     Hopefully you find some inspiration from this.  Once you find a style and shape you like, there's nothing wrong with making a closet-full of accessories.  Words to live by.


Friday, March 21, 2014

Sheep! Another project from the sewing group.

I've written about our sewing group before.  We've been together for almost 10 years sharing our love of handcraft.  You can find several posts about them by searching for "sewing group."  One big project I did can be found here.  Every year, we give each other a new creative challenge.  One year it might be color, another year it's a theme.  These squares are from my 2012 challenge -- SHEEP!!  I collect sheep in all forms and I knew my very creative friends would have a great time with this one.

The background wool is hand-dyed using the Cushing color "Bittersweet."  I knew I would use a blue as a background color.  My instructions to the group were to do sheep of any kind -- a grouping, a single sheep, just a face, etc.  The fabric was square so I didn't have to worry about portrait or landscape orientation.  Everyone was also given a bit of a paint chip showing a deep, Colonial blue.  They were asked to incorporate that blue in their design.

I just finished putting the pieces together and creating a wall hanging for one of our rooms.  There are very high ceilings in this room so above some French doors seemed like a great place.  Here's the finished piece hung in place.

 This one is mine.  Obviously.  I used some Merino wool yarn and did a hooked rug design.  The face is a flat appliqué of black wool as are the legs.  The bird is blanket-stitched to the background.  I would say that mine ended up being a little heavy!  It takes a surprising amount of yarn to hook a sheep in this way.  But, I love the texture and the way the sheep looks like it is VERY ready for a haircut.
 Here we have Beth and Barb.  Beth is primarily a quilter and Barb does a little of everything but is super talented at embroidery.  Two funny stories about these pieces.  Beth lost her paint chip and didn't even realize I had a color preference!  But, she still used the blue!  Barb accidentally cut the legs off one of the sheep and had to re-appliqué.  Hilarious.

Here's Kathy and Katie.  I feel compelled to tell you that I taught Kathy about needle-felting.  And, she produces something like this!  The student becomes the master, I think!  I love the expression on the sheep's face.  Kathy and Katie both used the required blue in the form of a ball of yarn.  Fabulous.  Katie's has my shop name embroidered on the bottom which makes it a favorite as well.


Angela is here on the left.  Another master embroiderer in the group.  The circles of stitching are so perfect!  And to the right is Anne.  Again with the embroidery!  Ann always does amazing detail work on all her pieces.  She humbles me.  I had to buy a book on embroidery stitches to keep up with this group.


Finally, here is Heinke's.  I love this one.  A little flock of sheep with vintage doily collars.  How clever.  I also love that there are three little sheep just as I have three boys.  I wonder which of mine is the black sheep?!  I suppose it changes daily.


I hope you love the look as I do.  I'm so proud to be in such a creative group.  My next set to put together is a Christmas-themed set on beautiful blue wool.  Everyone was to do a Christmas tree -- a portion, a branch, or a whole tree.  They are amazing.  Another post for another day.

Tuesday, February 25, 2014

Wreaths

First of all, I apologize for some of these pictures.  It is actually too cold here in Ohio to take pictures outside.  February 25.  It's about 15 degrees.  Fine when you're bundled up and taking the dogs.  Not so fine for photography.

I like wreaths all year long.  From my kitchen window I can see my front door and the little porch attached to our barn.  I hang a wreath there all the time.  In the fall it's a pinecone wreath made many years ago.  I cursed Martha Stewart for days as my hands bled from the sharp edges on the pine cones and my nails shredded from the wire.  But, 18 years later, the wreath is still together.  Darn her.

Here is my most recent creation:
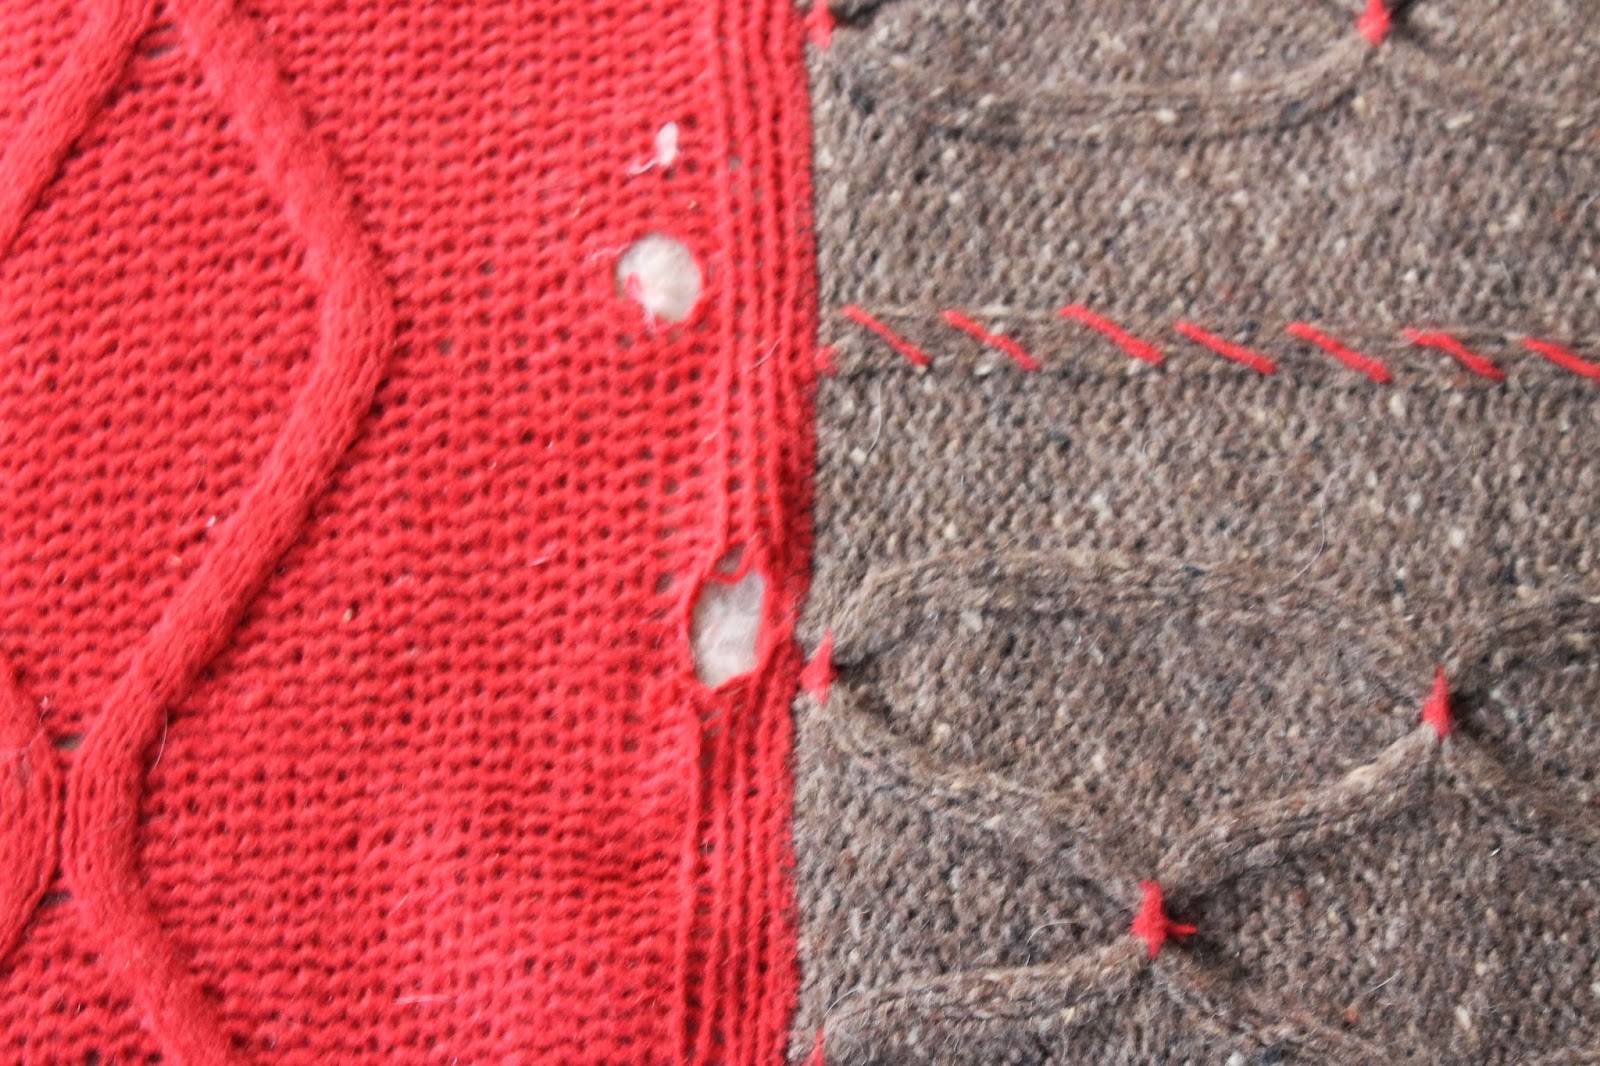
 This one is made entirely from cast-off ribbings of recycled sweaters.  I've been working with old sweaters for more than 10 years and, most of the time, I can't use the ribbings.  So, I've been cutting them off and saving them in a big bin, not knowing what I would do with them.

I've seen versions of these online and thought I'd give it a try.  I sorted the ribbings by color and then picked out the pieces that would be long enough to wrap all the way around.  They are only pinned to the wreath form in the back.  It probably took me only about 10 minutes to cover the form.  I was planning on cutting all the ribbings into fringe after I finished but I really like the coziness of this look.  It's as if the wreath form is wearing a sweater.

For the top embellishment, I made a pom pom out of some leftover ivory yarn and some crazy flowers out of wider, ivory ribbing.  You'll see below that I kind of went nuts on the ivory theme on a different wreath.  This one just needed a touch.

Now this next wreath hung above one of my mantels during the holidays.  I was inspired by the "Anthropologie wreath" that found its way onto plenty of Pinterest boards last fall.  That wreath was solid large pom poms.  Too unidimensional for me.

Now THIS is more my style.  Elements:

  • Pom poms in 2 sizes
  • "Posy" flowers made from wide ribbing folded in half, rolled and sewn, and cut into ribbons
  • Spiky flowers made from ribbing rolled and cut
  • Rosettes made from a square of flat sweater cut in a spiral, rolled, and sewn
  • Vintage rhinestone brooches
  • Cheap craft bells from Jo-Anns

This wreath has evolved.  At the holidays, it wasn't quite as lush but I didn't have time to add to it during the rush.  So, this past weekend I sat down with my yarn stash and my pompom makers and went to work.  On many of the pompoms I incorporated some metallic silver yarn or accent yarn or even just string.  I wanted the sparkle in there.


The top is wrapped with velvet ribbon in a green I adore.  I think the wreath is peaceful and dramatic all at the same time.  The tone-on-tone unifies it and the metallic accents and brooches give it sparkle.  My plan next year is to hang it again in the same spot but then do the mantle with all white trees. I already have 2 felt trees and 4 awesome trees made from birch bark.  I got them for 75% off from Wisteria a few years ago.  This year I found some wire trees on an after Christmas sale that are kind of ivory with a pale gold finish.  Perfect.  I also am planning to make trees with ivory ribbing pieces attached to simple styrofoam cones and then cut into fringe.  These are all over the web also.  And, finally, I saw a great tutorial for making faux feather trees out of white wool.  Doesn't THAT sound like something I would have in my house!  Can't wait to try that out.  I'll have enough trees for a forest!


 Okay.  Final wreath of the day.  This is my spring wreath.  I have a tiny (BIG) obsession with black and white patterned weaves.  Houndstooth, checks, plaids, windowpane, etc.  Anytime I find some in a thrift store in the skirt aisle, I grab them.  Cannot help myself.  So, I had an entire bin of this stuff, some of which was in pretty narrow pieces.  So, I tore them into about 1.5 inch strips and cut them to size.  I will say I shorted myself and could barely tie the knots but I made do.  I alternated the knots outside and in so there wouldn't be too much bulk along the outside.  Wool is pretty thick.  I used up a ton of fabric on this one and I love being able to see all my patterns at the same time.
The embellishment is my version of a wool forsythia flower.  I cut little ovals out of a cheery yellow wool and then wired them together with green wire.  As I added the wire, I put a little leaf of green wool at the base, leaving about 3 inches of wire at the end.  I made LOTS of the little blossoms.  Then I took a skewer and wrapped that with an olive green wool, adding blossoms in a random way.  Easily done by putting that extra bit of wire along the skewer and then wrapping with the green wool.  I think they're adorable and realistic enough to be recognized!


 I hope all this has given you some inspiration at the end of a cold winter.  I never dread January and February.  They are very cold months in Northeast Ohio, but having all my inside crafts makes for lots of creative ventures.


Wednesday, January 22, 2014

Ella's cushion -- Dresden plate pattern done in wool.

This is Ella's cushion.  Ella is my 22-month-old Field Spaniel that thinks she's a lap dog.  She certainly believes she fits perfectly on this cushion and that well, frankly, she owns it.  Adults can perch their feet on a small corner but should, by no means, feel the cushion is theirs.

The cushion cover was made by me using various leftover wools.  The red panel is a wool and possum blend that didn't felt as tightly as I wanted and, as you can see, was weak, leading to a hole.  The center section is a sturdy wool tweed, knit in a wide rib and then smocked using the red yarn to tie the panels together.  The variegated panel was a yarn I hand-dyed myself that just happened to match the other two.  I knit and felted the three panels, sewed them together, and made a cushion for this lazy Susan ottoman we have.


Obviously, once the holes appeared, I started thinking of how to replace the cushion and what I wanted.  The original cushion was thicker and was a boring tapestry thing that came with the ottoman.  I didn't even wait for that to wear out before making the paneled cushion.

The new cushion would use a Dresden Plate quilting pattern.  I've posted about my love of American quilts before.  I never get tired of the play of pattern.  Naturally, I gravitated for the color wheel classic of red/blue/yellow.  I even found a 12-panel Dresden Plate pattern to use, planning for 4 repeats of the colors.  But, that green kept sneaking in to the pile.  The couch opposite this ottoman is dark green leather.  So, green always feels right.

 Here's the layout of the panels.  I had 2 fabrics in each color.  Every panel has texture of some kind -- plaid or stripe or whatever.  Most are hand-dyed by me or someone like me.

Now to the stitching.  Given that Ella was going to lay on this thing, it needed to be strong.  So, I machine-stitched the panels together along their long sides.  Then I blanket stitched the entire motif to the background wool.  This was tricky because it is big.  The motif measures 20 inches across.
After doing the outside, I very carefully pinned and started going over each long side with another type of blanket stitch.  This stitching was reinforcement and I did it to make sure everything stayed put with a 35-pound dog jumping up onto it.

Finally, I made a penny rug center to cover the big hole.  That was the hardest part to sew on because the rough cut hole kept shifting.  I probably should have basted everything on first but it was too late for that.  I just made do.

Below are shots of the finished cushion made using some foam from the craft store.  I love the final product, especially since the only supply I actually had to buy was the foam for the cushion!  What that tells me is that I have WAY too much wool in storage in my cedar closet.  I better come up with some more projects QUICK!!

As you can see, Ella approves.  Good dog.


Saturday, January 18, 2014

Radiant orchid


 First, I want to say that I made this scarf BEFORE Pantone named Radiant Orchid as the Color of the Year.  Truth.

I've been making pieced, recycled cashmere scarves for almost 10 years.  I've grown weary of the same 5-inch strips sewn back-to-back, using the ribbing as fringe.  My friend, Anne Marie, mentioned that her favorite scarf ever was a cashmere scarf that was backed in silk.  Well, that got me thinking...
 I had a piece of silk purchased years ago in some of my favorite shades of purple.  And, I had bags and bags of cashmere scraps all color sorted.  I went to work finding cashmere scraps that matched my piece of silk.  Using the scraps as my guide, I determined that I'd have to cut my strips 1 1/2 inches wide to maximize the scraps I had.  I am all about making something out of nothing and this project is right up my alley.

After cutting all the scraps into strips, I cut them cross-wise into different lengths.  Everything was a multiple of 2 1/2 inches.  This way I could lay them out like a brick wall (just like my iPad cover) and the cross seams would be offset and, therefore, stronger.  Some strips were longer if the scrap allowed for that, but most of the little pieces are the smallest size:  1 1/2" X 2 1/2".

There are 93 pieces of cashmere in this scarf.  I counted.
 The scarf is about 10 inches by 60 inches finished.  And, it is a stunner.  I wear it quite a bit because I have an eggplant-colored down jacket and I wear a lot of purple day-to-day.  By twisting the scarf as I'm putting it on, I end up with both cashmere and silk against my neck which is pure heaven.

Yes, it took a long, long time to find the right colors, cut those little tiny pieces of cashmere, and sew them all together.  But, the result is certainly worth all that effort.

Then I got to thinking, "How can I make a similar scarf inexpensively enough to be able to sell at a reasonable price on Etsy?"  I started looking on Ebay for vintage silk and came across some vintage sari's from India.  Bingo.

Below are some shots of the other scarves I made for sale.  The sari's cost about $25 and contain massive amounts of yardage.  Probably 4 yards or more.  Often, the ends are intricately patterned as you see with the green scarf.  I washed the sari's on gentle in my washing machine and dried them with no heat.  Another bonus:  silk can be torn on the grain just like wool.  This makes tearing the silk yardage a 5-minute piece of cake.  I made these scarves slightly longer (65") and slightly narrower (10" unfinished) because I found my orchid scarf to be a little thick and a little short.  Still wearable, of course, but the slightly longer length of the new version is just right.  I made 3 of the green and 5 of the maroon/black/grey.  All sold very, very quickly at a price of $75.  The maroon style was made because the colors of my boys' school are maroon and black.  So, all 5 of those sold to fellow moms at school.  And, I still have a ton of silk left for more.  The cashmere pieces are 10" wide and various lengths and that's the hardest part to source.  That's a big piece of cashmere so you can't use the sleeves unless it's a very large sweater.  I use the sleeves for my gloves and cut scarf pieces out of the fronts and backs.  A great project and very successful.  I hope you agree!